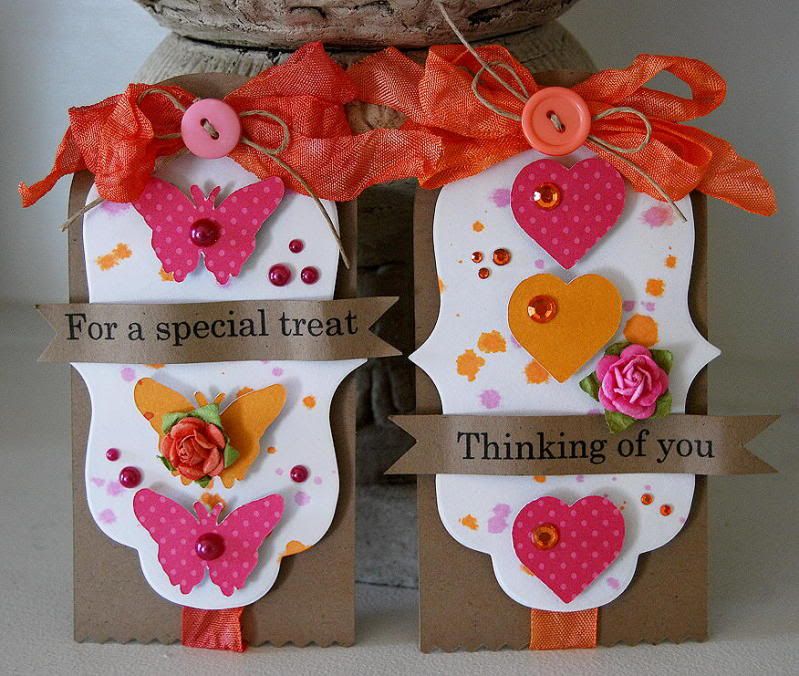
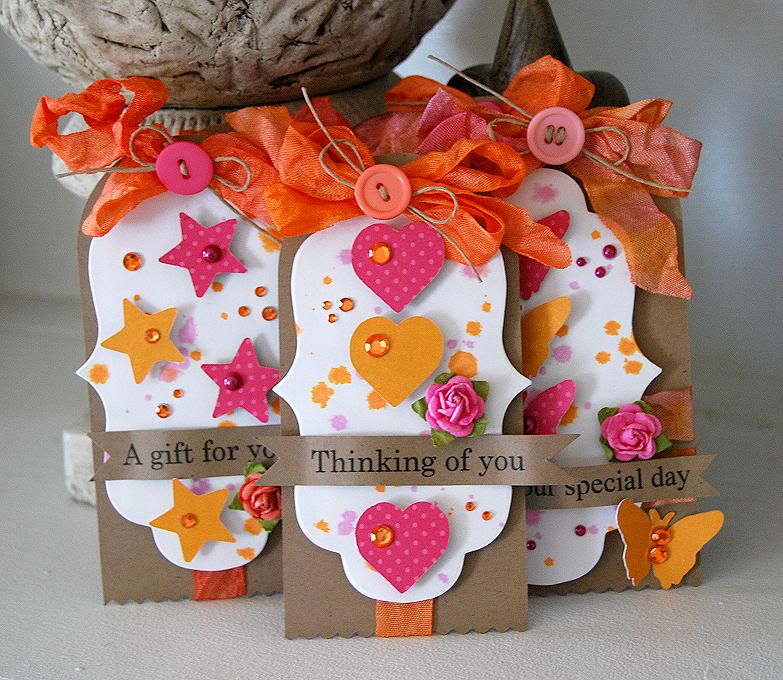
Hello my lovely blog readers! I am so excited to share this wonderful project with you today! I love love love the colors and it's a perfectly lovely combo for upcoming spring and summer. I had so much fun playing with my Cricut and my Dies and my spray misters! I created these gorgeous ribbons, ( just to let you know I will be posting new colors of ribbon up on my Etsy store on Friday!! ) and this combo will be on there. I hope you enjoy my tag set, I love that I have them set aside now to gussy up a pretty package, I cannot wait to create some more tags to share with you!!
Sizzix Movers and Shapers- Stylized Labels
Sizzix
Glue Arts- Ucutit foam, and Adhesive Squares
Cuttlebug Machine
Cricut Expression-
Cricut Gypsy Device and Cake Basics Cartridge
Kraft and white cardstock
paper- american crafts
Spray misters- Tattered Angels- Dreamsicle and Sherbert
Crinkled Ribbon- www.etsy.com/shop/scrapinkris
Buttons/twine/gems- craft supply
Pearls- Kaisercraft
font- Century Gothic
Pinking shears
Prima flowers


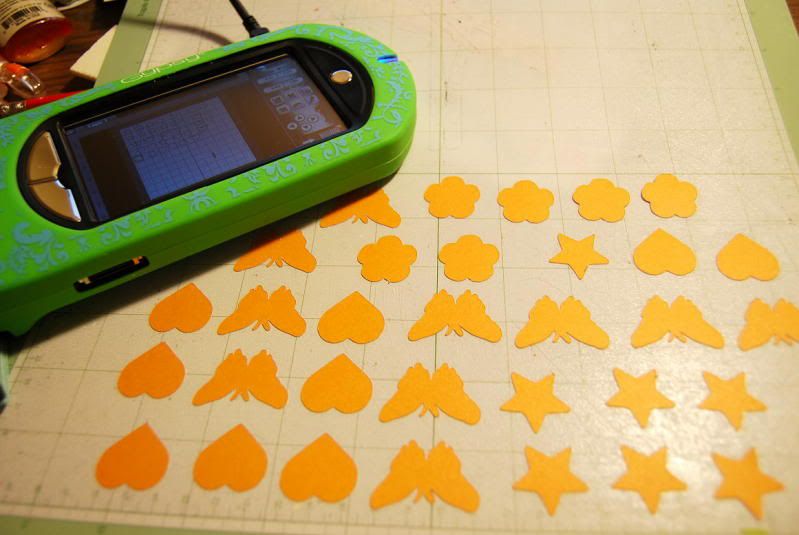
1. Cut out orange and pink papers using Cricut Expression and Gypsy Device to create small shapes- heart, star, flower and butterfly. Again use Cricut and Gypsy to cut out rounded top tags cutting at a 5x3 inch size, then trim off 1/2 inch with pinking shears.
2. Diecut white cardstock with Sizzix Label Diecut and Cuttlebug machine.
3. Drop pink and orange spray ink onto labels for decoration, allow to dry.
4. Print out sentiments on kraft cardstock, trim into strips and cut ends with triangle shapes to make into banners.
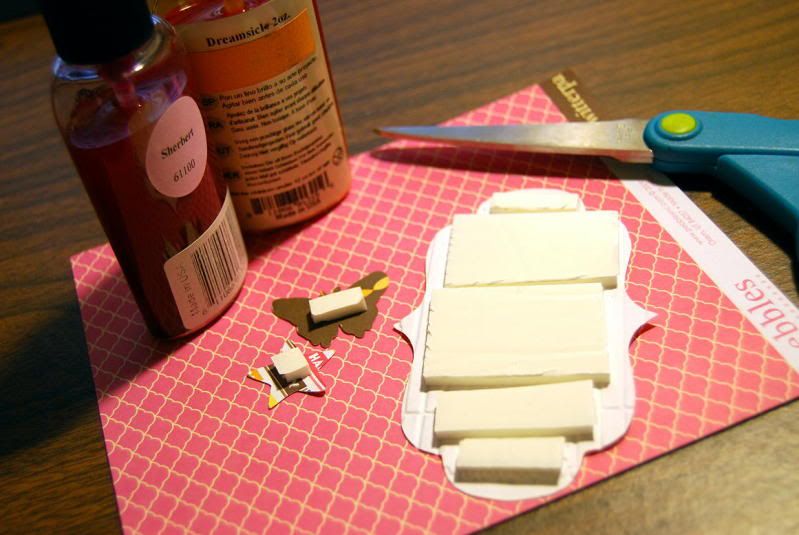
5. Tie on crinkled ribbon top to bottom on tag, then use UCutIt foam on back of label, attach to tag, then adhere UCutIt to backs of small shapes and adhere to label.
6. Put waves in banners by rubbing with fingers and attach to tags with Adhesive Squares.
7. Tie double bows with crinkled ribbon, tie button with twine and adhere to tag with Adhesive Squares.
8. Decorate tags with flowers and gems/pearls


Thanks for dropping by!


7 comments:
Very cute! Thanks for sharing this idea!
Those tags are awesome. Love the colors!
Very cute!
Beautiful! I love the colors!
Those are so cute! I agree the colors are fab!
Очень-очень здорово!!!!
Love your tags, wonderful colors!
Post a Comment