Monday, February 28, 2011

Monday and Imaginisce

Hello friends! today is a special day for me. Imaginisce is featuring me as a guest designer on their blog today!
I am sharing some of the projects here to give you details on how I created them. Today I want to focus on the Enchanted Collection. This collection is just DARLING! I had so much fun working with it, and to tell you the truth, I couldn't seem to stop creating with it! Every time I'd get done a creation, I'd have an idea for another one. In collaboration, Glue Arts is also featuring this Guest Designer Post and has supplied me with a giveaway as well. Make sure you hop over to Imaginisce and Glue Arts today, as they will both be giving away goodies, plus scroll all the way to the bottom of this post for MY giveaway!!

WARNING- Photo and Project Heavy Post!!

I REALLY REALLY enjoyed creating this week! I've mentioned that I've been a bit overworked, and creating was becoming a chore at times. With less responsibility I'm feeling free to create at my own pace, fast or slow, and that is such a great feeling.

First I want to share this adorable layout with you. I have to say, I think I was channeling my mentor and friend Jana Eubank. She shared an amazing video on the Cricut Circle Blog ( you can sign up here) last week, and I created this layout after watching it, and I think it looks a little like her style.

Don't forget you can click to see these larger!


First I used the pink( Princess Promenade) as a background paper, I trimmed off a little around the edges, and then I added strips of kraft cardstock, which I trimmed with my deco scissors.  I layered the stripe paper (Fairy Trails)towards the bottom, and topped that with about a 6 inch circle, again, matted with kraft cardstock and trimmed with mini scallop scissors.  I mounted my two photos on a sticker backing sheet, ( don't throw those away- they often have beautiful prints on them!) which I shabbied the edges a bit with my distress tool ( Heidi Swapp). I then layered on blue punched scallops (Happy Ever After)  in a border, and topped them with a border strip (Belle of the Ball Border ) from the collection.( All adhesive is Glue Arts Perma Tac and I used the Glue Glider Pro Gun)


Now for the fun part, the embellishing! I first cut out the castle from the patterned paper (Happy Ever After ) and stuck that on with Perma Tac, then I added the diecut girl and animals and flower (Make a Wish Cardstock Die Cuts) , popping them up with UCutIt foam. I had cut out the white scallop circle from my Cricut Imagine, then I cut a smaller circle of kraft and journaled on that.
I cut out the title using my Gypsy and Cricut Expression, using Martha Elegant Cakes ( birthday) and Storybook  (princess) using the pink paper (If the Crown Fits ) and adding the shadow in kraft as well. I used the cut out crown tucked under my title to add interest to that as well. To finish, I added some craft store pink pearls.

Next, I made this fun gift bag.. Again, I used the backing from an embellishment package. I cut that down to size, and added a border strip ( Belle of the Ball Border Stickers) across the bottom, and then added a white cardstock punched strip ( martha stewart) across the top. I popped up the white journal spot with UCutIt foam- cut from cardstock using my Imagine, and layered on the dreams come true punch out (Make Believe Cardstock Die Cuts ) with more UCutIt foam. I tied a double bow with the collection ribbon ( Satin Streamers) and topped it with a brown button and twine.


The flower swirl (Make a Wish Cardstock Die Cuts) is cut in half, tucking the edges under the diecuts, then popping the second half up with UCutIt foam. I tucked in a couple flower pins, and then added IRock gems with the IRock tool.


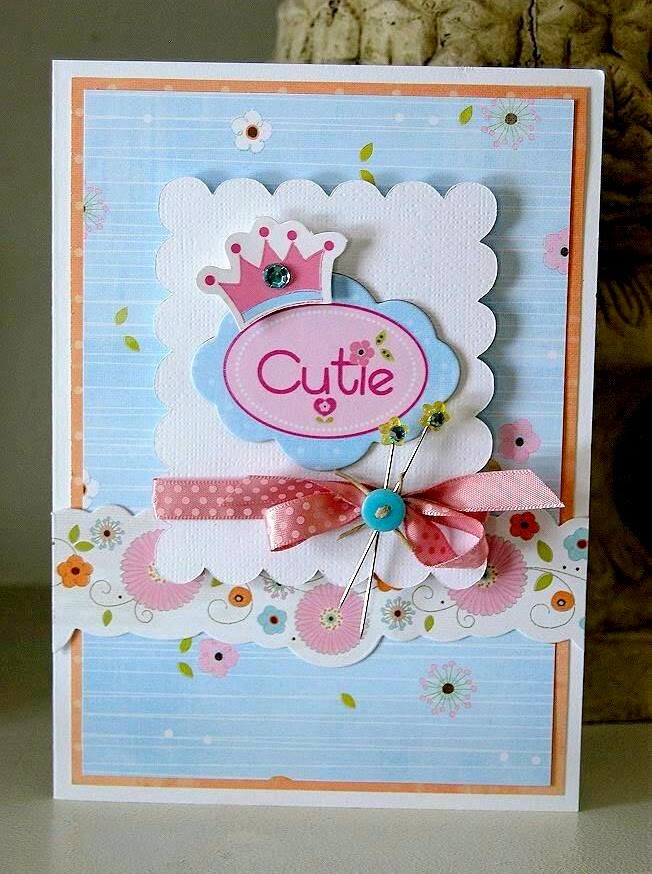
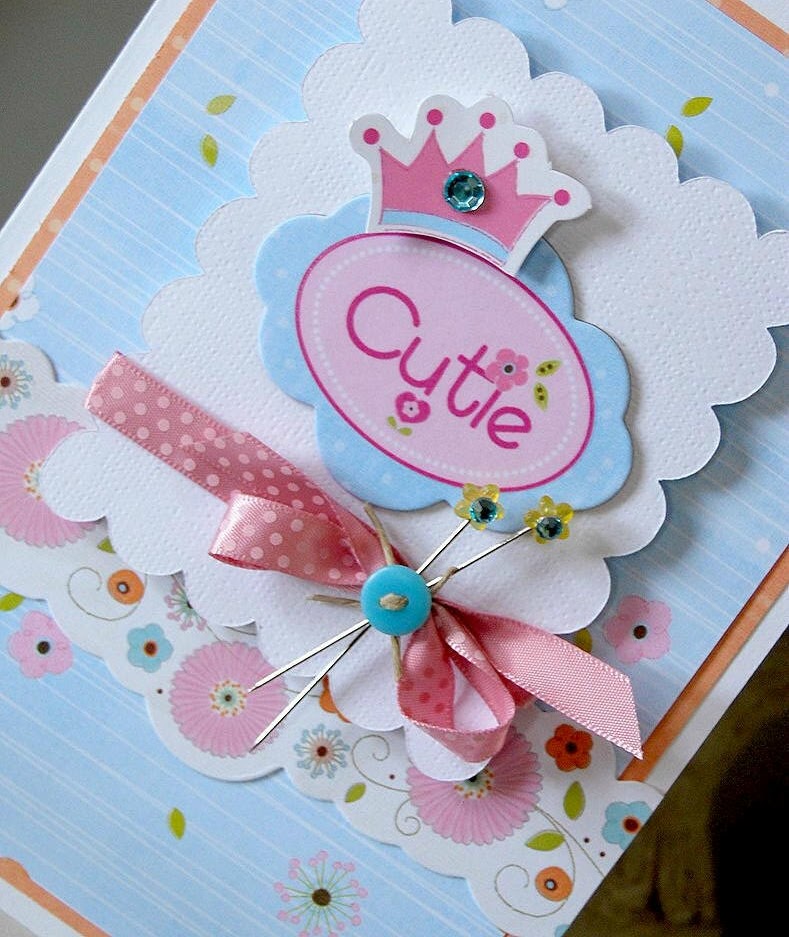
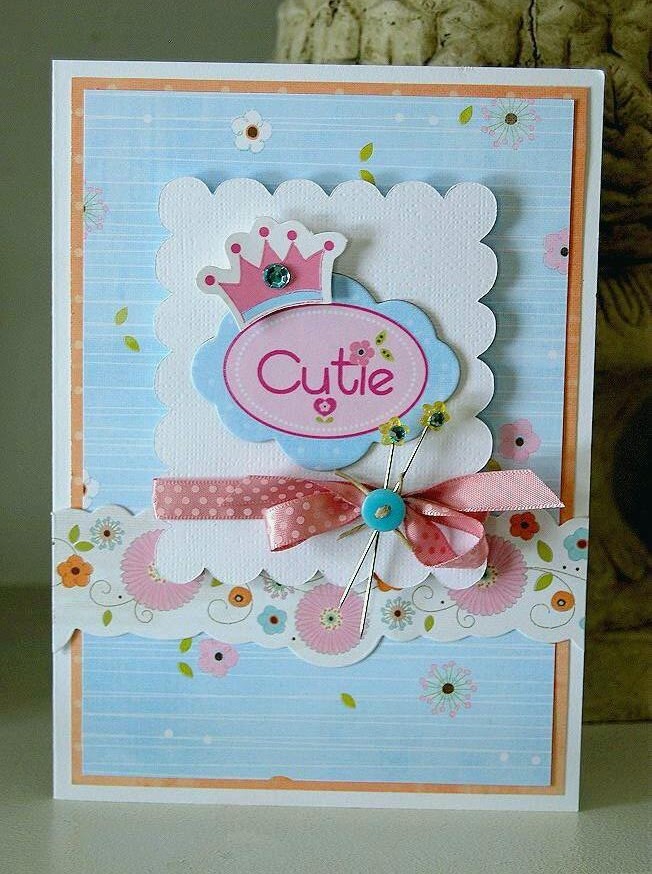
 Next I have a card for you First I cut the orange paper (Princess Posies) -to size for the card, then I punched the strips of pink (If the Crown Fits)and attached them at the top and bottom of the orange. I added UCutIt foam to the back of the castle punch out (Make a Wish Cardstock Die Cuts), and then added UCutIt to the Imagine cutout scallop oval.


To each side of that I added a collection ribbon bow (Satin Streamers) with pink buttons and twine. Then I added the (Sticker Glass) Stickers, and I stamped the Princess stamp ( Snag 'Em Stamps - Crown Princess) on pink, stamped again on green- cut out the crown- and added the IRock Gem.


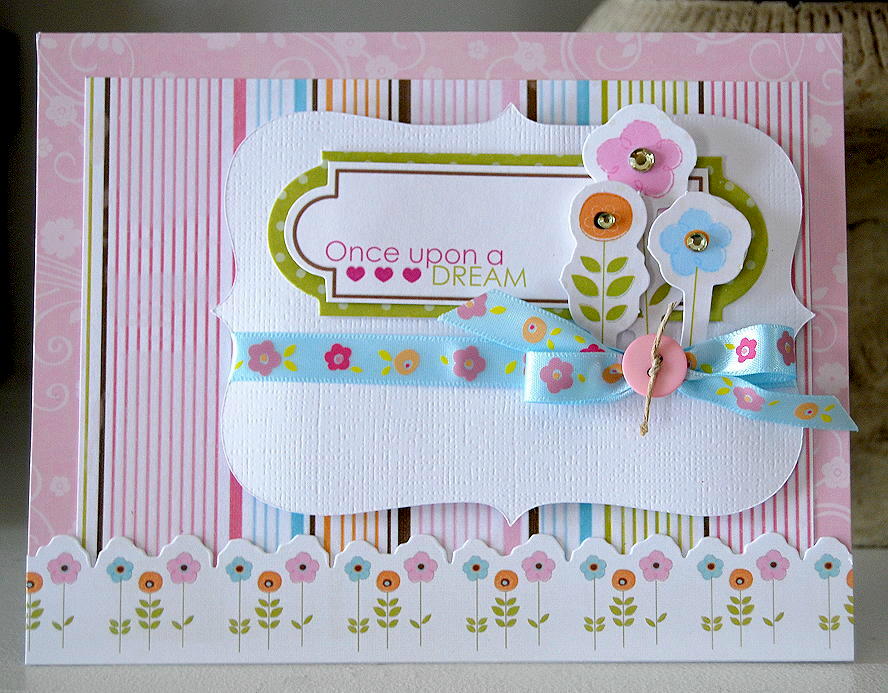
I created another card, using the blue paper( Mirror Mirror) then matting it with the orange paper( Princess Posies). I layered the border strip (Belle of the Ball Border Stickers ) then popped up the cardstock cut out scallop oval- cut from my Imagine- and then layered on the chipboard sticker ( Once Upon A Time Chipboard Stickers).


Then I tied on the collection ribbon (Satin Streamers )with bow, button and twine, then pushed through two green flower pins ( topped with Irock gems) I added UCutIt foam to the crown punch out (Make a Wish Cardstock Die Cuts ) and added an IRock gem to the center.


next I have this fun mini album cover. I'm not sure yet what I'll be doing with the inside, perhaps to make a small journal for one of my girls, or a mini album with photos. I took a Pink Paislee canvas album then sprayed it with pink tattered angels spray mist. ( I also sprayed my Petaloo flowers as well) after they were dry, I added the border sticker (Belle of the Ball Border Stickers )to the cover,  then added my flowers towards the bottom using Glue Arts Extreme Adhesive Squares. I tied a double ribbon bow with the collection ribbon (Satin Streamers), and added a medium ITop button to the center. Then used a Glue Arts Mini Glue square to adhere the heart punch out to it's center. I also added UCutIt foam to the back of my title punch out (Make a Wish Cardstock Die Cuts) and adhered that to the cover. I tucked in two homemade pins into the flowers as well.


Next, I used a mix of stick on gems and stick on Pearls randomly all across the album cover. I love how super girly this turned out.


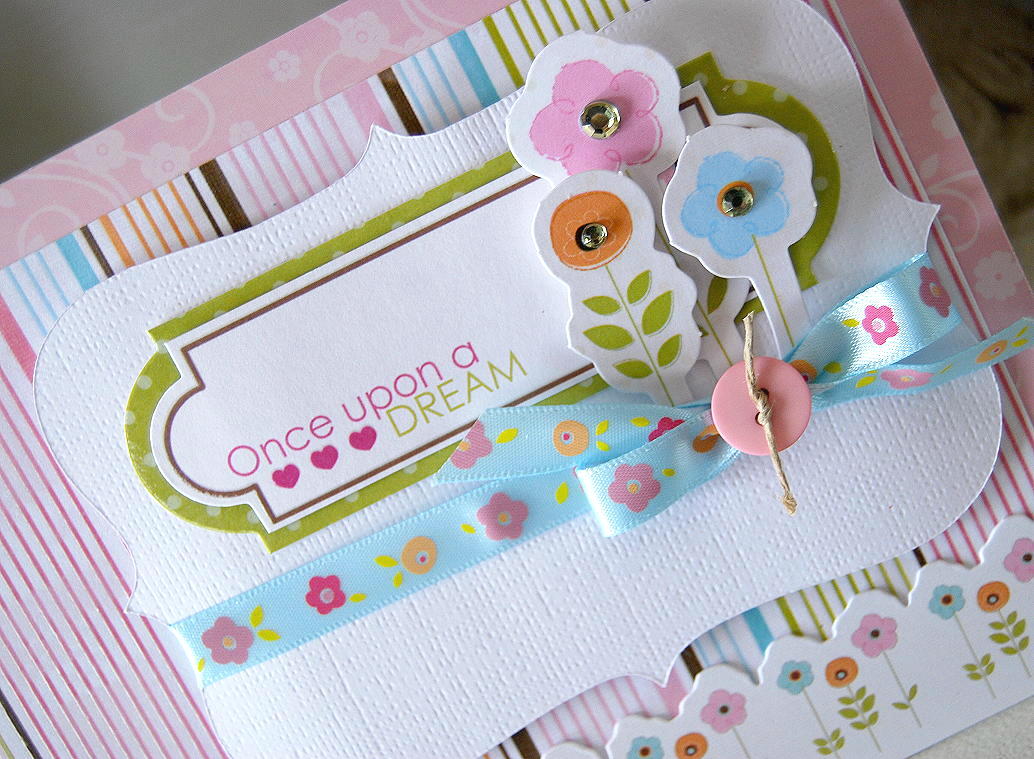
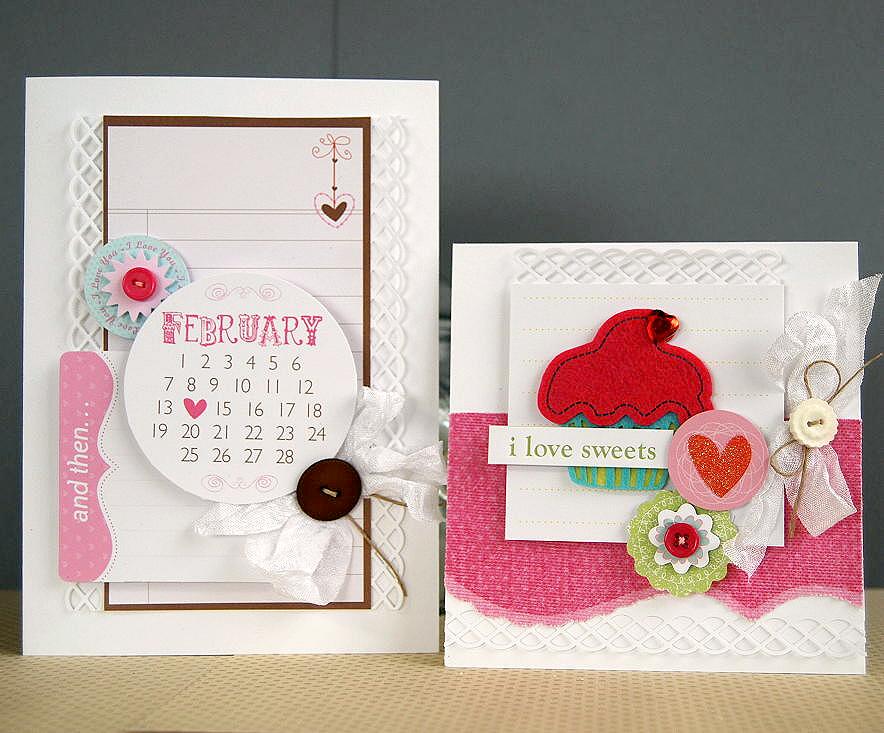
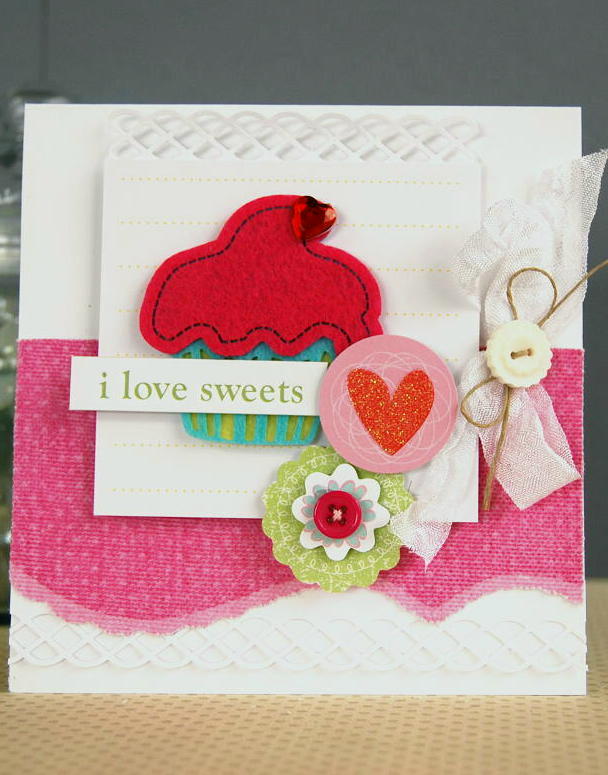
I created another girly card. First I used a block of the product packaging , then I added a block of the stripe paper (Fairy Trails ), slightly larger then the backing block. I added a piece of the flower border sticker (Belle of the Ball Border Stickers ) towards the bottom, and then added on my Imagine cut out scallop rectangle.


I layered on the dimensional journal sticker (True Love Tags Sticker Stackers),  then added the girly girl chipboard sticker (Once Upon A Time Chipboard Stickers). I also added the chipboard crown and then added the collection ribbon  bow ( Satin Streamers )  with button and twine and a punch out flower that I added a little UCutIt foam to make it pop up.


A landscape card, I used the backing again from a sticker package, then added a block of the stripe paper (Fairy Trail). and added the sticker border (Belle of the Ball Border Stickers ) to the bottom of the card. 


Again I used a journal spot cut from my Imagine, and tied the collection ribbon across with a bow (Satin Streamers )  and topped with a button and stuck on the sticker (True Love Tags Sticker Stackers ) I popped up some of the punch out flowers (Make a Wish Cardstock Die Cuts ) with UCutIt foam and layered them under the bow. then I topped them with my IRock and gems.


and finally today- I have this one last princess card to share with you.I cut a block of pink paper (If the Crown Fits ) and matted it with the stripe paper (Fairy Trails ). then I added a torn green strip (Happy Ever Afte ) and I layered on the punch out trees ( Make a Wish Cardstock Die Cuts). I wrapped twine around the card, tied a bow and topped it with a green paper ITop brad.


I added a cut out flower with pearl to it's center. I added the punch out carriage ( Make a Wish Cardstock Die Cuts). and the sticker  (True Love Tags Sticker Stackers )then stamped the princess ( Snag 'Em Stamps - Crown Princess). I then handcut the clouds and popped up two of them with UCutIt foam. I also added a gem and several pearls to the card as accents.


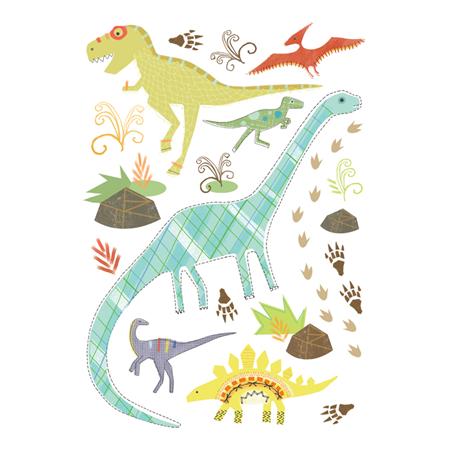
 Lastly for you today, I have a giveaway for you! Would you like to win the Imaginisce Dino-Roar collection?

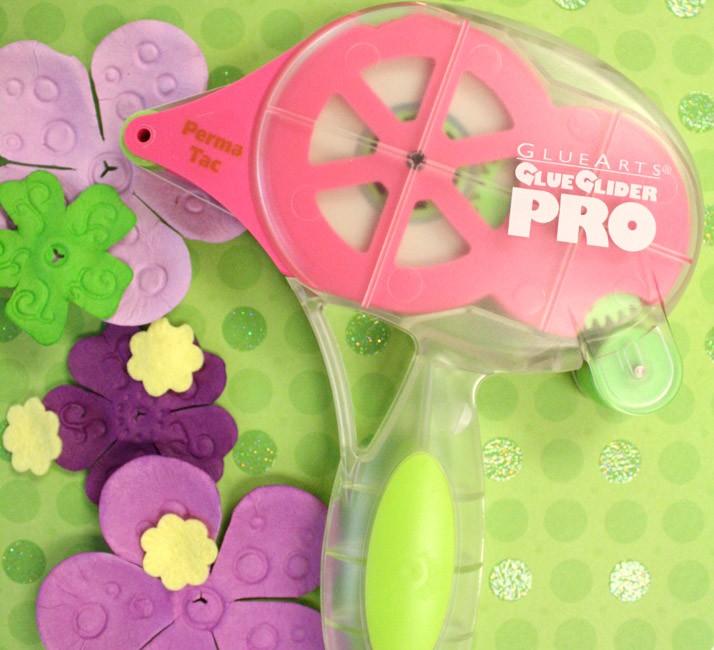
or would you like to win a Glue Arts Glue Glider Pro plus refill AND Ribbon Adhesive?


I will chose two winners on Saturday! please click the follower link on my right sidebar to become a follower and leave me a comment on this post- US/Canadian Shipping only.  Thanks so much!


thanks for coming by today!

Saturday, February 26, 2011

Happy Saturday!!


 Good Morning! Over on the Glue Arts Blog this week we've been sponsored by Little Yellow Bicycle. Their Cupcake Love line is so sweet and fun, and since they were so generous with products for our team, I created some cards to go along with February's theme of Valentine's day. 
The first card is definitely Vday themed, but the second you could give at any time!


For both cards, I wanted a strong white color scheme, so I kept the background paper minimal. I used this journal spot on the card as the background, adding strips of punched borders to each side. Then I took two punch outs and added UCutIt foam to the back of both. I added the small love you sticker underneath the edge of the Feb. 14th punch out, and I added a crinkled seam binding bow with button and twine to the other side.


For the I Love sweets card, I first added this canvas border sticker to my card base with a punched strip of cardstock at the bottom, then I added a cardstock block popped up with UCutIt foam, I also added a punched strip to the top of my cardstock. I layered on a crinkled seam binding bow with white button and twine, then I layered on some stickers and the felt cupcake. I topped the cupcake with the embossed I love sweets sticker to finish.


Now, I'm sure you're excited to find out the winners to my two blog candy prizes? Winner one will receive a package worth at least $30 of scrappy goodies. Winner two receives the Cake Basics Cricut Cart.

Drum roll please.....

Winner number one is....
Blogger Jennifer Chapin said...Love your project, it's beautiful!! Thanks for the chance to win :)
February 19, 2011
Delete
And Winner number two is....
tfhankins said...Kristen, how beautiful!!! You are so creative. This just makes me want more of Cricut stuff. The potential is there, and seeing what I can do, just blows my mind.
You have become one of my favorite blog sites to learn & get ideas for my personal projects for friends & family. God bless,
Thelma Hankins


Ladies- please email me at ibescrapinkris (at) comcast ( dot) net. I will return your email in a day or so, so if you haven't heard from me, let me know in a comment. Thank you for following!!

Usually this is the time I put up a new candy to win. However- MONDAY will be a special day here on my blog, with a collaboration between me and two companies- so PLEASE PLEASE come back by on Monday and see all the chances you will have to win!!
hugs!

Friday, February 25, 2011

Pebbles Valentine Layout

  Today I am sharing a project I made for the Pebbles Blog, this week we are scraplifting team projects and putting our own spin on them. I have to be honest- I haven't created a 8.5x11 layout in years, it was refreshing to have the change of pace. I love that I got to use my Martha border punch, and the supplies are all Pebbles- listed below. Of course, kraft is still my most favorite paper to pair with colors, I feel like I can pair it with any brights, and have it tone down just enough not to scream at me.  I do wish you could see the glitter on the sticker letters and that white flower!


"I am in love with simple clean layout design. However, it's not the style I typically look to when creating. Using Eva's layout as inspiration made this whole Valentine layout come together so much faster for me. I loved her use of squares and the small embellished paper squares, plus the cute scalloped border surrounding the whole inside. I was able to mix and match Pebbles papers and embellishments to create this sweet layout of my girls."

Eva's Original Project


Kristen's "Lifted" Project


Pebbles supplies used:
New Arrival Word Dimensional Stickers (73203)
New Arrival Journaling stickers (732028)
New Arrival Rubons (735003)
New Arrival Metal Brads (747007)
Baby Pink ABC stickers (732020)
Baby Pink Candy Dots (744233)
Cats and Dogs Cat's Meow (751048)
Twitterpated Charm (751008)
Twitterpated  Admire (751006)
Twitterpated Word Stickers (732002)
Live Laugh Love Dup. Stickers (761001)
I Love You White Rub Ons (730218)

Other supplies used:
Cardstock
Punch (Martha Stewart)


thanks for coming by today!!

Thursday, February 24, 2011

Thanksgiving holidays

Around the thanksgiving holiday, I created this project for the Cricut Circle Blog. Being invited to Thanksgiving dinner, I wanted to show how you could bring this along for your host or hostess to show how much you appreciated their hospitality.

I used my Imagine machine to print out some of the papers and decor items, plus I cut out the leaves using my Cricut Expression. I made this projects for the Cricut Circle Blog, if you would like to become a member you can sign up to be a member here- Cricut Circle Sign Ups. There are many perks to membership, including exclusive cartridges, members only message board, blog and magazine!


Thanks for taking a peek at another one of my older projects!!

Wednesday, February 23, 2011

Another Sketch Challenge

Over at Card Patterns, Michelle is celebrating their two year anniversary! Congratulations to Michelle for such a great accomplishment!! Last year I worked for Card Patterns and it was such fun! I love the challenge of working with sketches, they pull me in directions I might not have gone.
Here is the sketch... 


I had time today to play along, and of course, as I started out I had good intentions with keeping with the sketch, but honestly, I typically go off in my own direction. Note though, I kept with the three's, three corrugated tabs, three buttons, and uh, the rest kind of went my own way.
 But I'm ok with that, I totally felt all shabby chic today, so I got out my glittery shabby GCD papers, that is the background- love that teal glitter!!


Then I added my corrugated cardboard- we took a break for a while, and now it's back in my life, I just love it! ( BONUS- it's totally FREE!!!! and recycles!) I added a couple of these printed post it tabs, then I added my shell buttons with twine. I had painted this Tim Holtz label, then I sprayed with chocolate spray mister. I let it dry and ruboned the greeting from a Pebbles pack of them, I added clear glitter all around the outside, and finished with a couple champagne pearls. Then I fussy cut the two bflies and adhered them with some Glue Arts Adhesive squares rolled up.


here's a close up
thanks Michelle for such a great sketch blog, I think you'd be a great neighbor *wink! wink*
and thank you for stopping by!

Pebbles Baby cards

Hellooooo..... I am sharing some baby cards I made for the Pebbles blog last week. Can you believe I made both these cards in just about 30 minutes? I love using coordinating embellishments so that things move along faster. And there is nothing more creatively exciting then busting out some sweet, fast, fun cards in a short time.

here is what I said about the cards..
"I made both these cards in just 30 minutes. When creating something with a time limit, it helps to have an idea of your design in your head. I also basically kept the paper design the same, cutting pieces and hand cutting the scallop paper in the same manner. I also tried to keep the cards more simple, and using Pebbles Chipboards and layered stickers make the designs look like I spent so much more time creating these cards, when it was just a matter of peeling them off the packaging and sticking them onto the cards!"

  here is the girl card.


next is the baby boy card.

Pebbles supplies used:
New Arrival Girl Sweet Pea (751059)
New Arrival Girl Baby Love (751061)
New Arrival Girl Word Dimensional Stickers (732031)
New Arrival Girl Chips (744115)
New Arrival Girl Felt Embellishments (747000)
New Arrival Boy Special Delivery (751006)
New Arrival Boy Precious (751071)
New Arrival Boy Peek-A-Boo (751075)
New Arrival Boy Icon Dimensional Stickers (732032)
New Arrival Boy Chips (744116)
White Candy Dots (744234)
Baby Pink Ribbon (744031)
Baby Blue Ribbon (744037)

Other supplies used:
Cardstock (American Crafts)


thanks for dropping by today!


Tuesday, February 22, 2011

Trying Challenges again

oh my- two posts in one day. Don't forget I've got two giveaways this week, so be sure to check out my previous posts for that.
Today, I was doing a little blog surfing and came across this Moxie Fab Blog Challenge. This time, it's Decorative Tapes. I have a couple, so I thought I'd give this one a try. I mixed up some Amer. Crafts tapes, and some Pink Paislee tapes. I love how the colors all go together so well.

What I did was to weave my tapes across a scrap of white cardstock, then I cut it down to size. I trimmed the pink cardstock mat with some deco scissors, then I stamped my center piece. I used some new Inkadinkado stamps, and my colorbox inks. I did the stamp and restamp technique, basically, you ink the stamp, then stamp onto your paper, and move it a little then restamp. I love the varigated colors it makes. I also stamped the greeting with a Fiskars stamp in black ink.


I added on a strip of punched border, then I inked around all the edges, I also allowed the white piece to be off centered on the card, like the woven strip piece. I popped the white piece up with my Glue Arts UCutIt foam, and added a small tied piece of twine. To finish it I added a tiny pearl, and added a little glitter to the flowers.
thanks for looking today!

I have so many projects to share..

with you this week. I still have plenty of older Cricut Blog projects to share, plus some beautiful projects from the Glue Arts blog, where we've paired up with Little Yellow Bicycle this week, and I have a project from the Pebbles blog to share as well.
what to share..
what to share...
 ok- since we're still in February, I think today, I'll share this beautiful Tussey Mussey I created for the Glue Arts blog. I used Little Yellow Bicycle's Cupcake Love line on it.

Tussey Mussey 
Designer: Kristen Swain

Supplies: 
Glue Arts adhesives- Perma Tac and Glue Glide Pro, Extreme Adhesive Squares, Adhesive Squares, Mini Adhesive Squares, UCutIt foam
Papers/stickers/diecuts/chipboard shapes/doilies/pins- Little Yellow Bicycle
Buttons/twine-craft supply
heart ribbon- May Arts
Seam Binding- www.etsy.com/shop/scrapinkris <--- my etsy shop!!
lace- walmart

Tip- this sweet cone Tussey Mussey would be a fun way to give treats on valentine's day, or make it into a spring gift bag. Simply add candy, chocolates and small goodies to it, then hang on your family's chairs at the table. Decorations and gifts all in one!
 
 
Tussey Mussey Instructions

1. Wrap cone using diecut paper, then adhere with Extreme Adhesive Squares.
2. Punch holes in each side of top of cone, then tie on ribbon.
3. Punch out shapes and adhere together with UCutIt foam.
 
 
4. Adhere shapes to cone using Extreme Adhesive Squares.
5. To make doily roses, cut out excess paper from hearts, cutting in half as well. 
 
 
6. Roll roses from inside out, I use a quilling tool to keep from crushing the delicate lace. Adhere together with mini adhesive squares.
 
 
7. Attach to cone using Adhesive Squares.
 
 
8. Finish design with crinkled seam ribbon, heart buttons, twine, chipboard cupcake, pearl, and pins, tuck in bit of lace using Adhesive Squares to adhere lace to cone.
9.Finish bottom of cone with bit of lace wrapped around and adhered with Adhesive Squares, adding on chipboard heart with the adhesive squares as well.
 

Come back tomorrow for another pretty project!!